
Using MS SQL Server for AIDA64
MS SQL Server can be used on both smaller and larger networks.
- Setup on Server:
- Open MS SQL Management Studio and connect to the SQL server.
- Select the server authentication mode (Windows Authentication or SQL Server and Windows Authentication).
- Right-click the Databases folder, create a new database named "AIDA64."
- Right-click the AIDA64 database and start a new query using the “DB – SQL Server.sql” schema located in the AIDA64 / SQL_Schema folder to create the required tables.
- Create a New User:
- Expand the Security folder, right-click Logins, and select “New Login.”
- On the General page, add the username, select SQL Server Authentication, and set the password.
- Select the AIDA64 database as the Default database and set the Default language.
- On the User Mapping page, select the AIDA64 database and grant write (db_datawriter) and read (db_datareader) roles.
- Configure AIDA64:
- In AIDA64 Preferences, select the Provider “MS SQL Server.”
- Enter the server name and authentication information (or select “Use Windows authentication”).
- If you have the appropriate privileges, you can select the newly created AIDA64 database in the Database field.
- Enable BULK INSERT:
- To use the “BULK INSERT” function, add the “bulkadmin” role on the “Server Roles” page in SQL Server Management Studio.
- This accelerates the process of inserting new records and requires a shared network folder with write permission for all users.
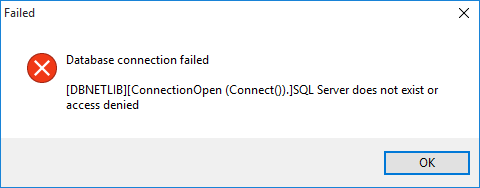
Firewall Settings
If you receive a warning on client computers about connection issues, open port 1433 on the SQL Server by running the following command: netsh advfirewall firewall add rule name="SQL Server" dir=in action=allow protocol=TCP localport=1433
Available in the following products:
AIDA64 Business
AIDA64 Network Audit